Exploring fabric combinations for Diamond Glow

I've been thinking this week about how I go about choosing fabrics for a new quilt pattern.
Diamond Glow was originally made using one of my favourite designer's fabrics - Alison Glass. I love the strong colours and the availability of a variety of values and tones in her Sunprints ranges that meant I could create the 3D effect in this quilt.

Sometimes though, these strong colours can be a bit overpowering, and I've been playing with drawing the quilt up in some different colour combinations. Here's an idea along the same lines, but using some pastel shades from Tula Pink. It really makes such a difference, especially with the light background. These are Tula's Fairy Frost prints, with solids from her Unicorn Poop and Dragons Breath collection. For the top right light triangles I used her Tiny Dots print.

This colourway is still on a rainbow theme, but sometimes you might want to stay in one part of the colour wheel - blue for example.

For this one I changed the pattern up by...
'Forest Light' unveiled at Houston Quilt Market

The Houston Quilt Market is always an exciting event, and this year was no exception. I had the pleasure of visiting the Benartex booth, where my quilt, "Forest Light," was displayed. Crafted using Quarry Hill Batiks and utilizing Foundation Paper Piecing,
"Forest Light" is a quilt that holds a special place in my heart. It reminds me of walks in the beautiful New Zealand bush, where ancient trees create a stunning overhead canopy. Occasionally, you come across a clearing where the light shines through to warm the earth below. Here is where I put a quilt down on the ground, get out my little camping stove and make myself a cup of tea. Lying down and listening to the native birds is one of my favourite ways to relax.
My original version of this quilt was made using my stash, where I grouped fabrics by colour and mixed and matched fabrics within each block. I quilted it on my Janome 9400, using a mixture of walking foot and Free Motion quilting.

For this new version, I
...New classes
Here in New Zealand it is now Spring, and I'm enjoying the extra light and sunshine. From my studio window I can see my beautiful camellia bushes flowering, and the birds are getting busy in the garden, eating the insects on my neighbour's cherry plum tree.

News from the teaching studio:
I'm so excited to announce that I will be teaching TWO new online classes starting very soon.
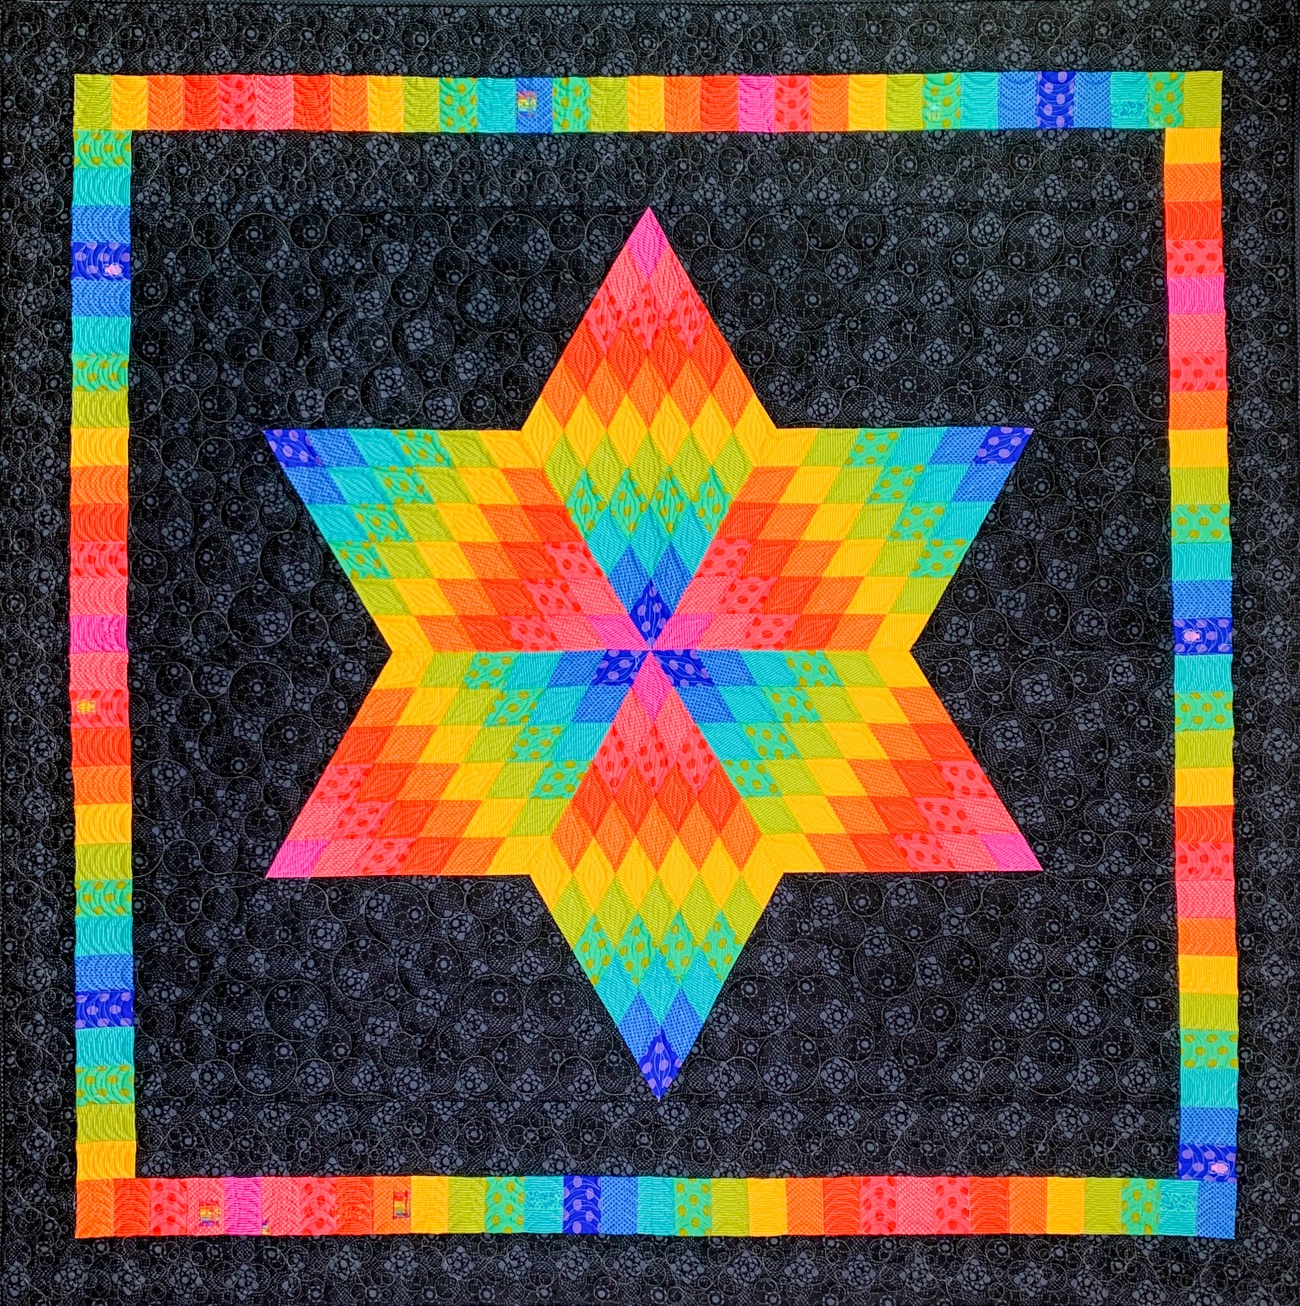
Six Pointed Lone Star
I have really enjoyed making this quilt using the easy strip-piecing method. I used vibrant rainbow colours from Alison Glass, with a dramatic dark background.

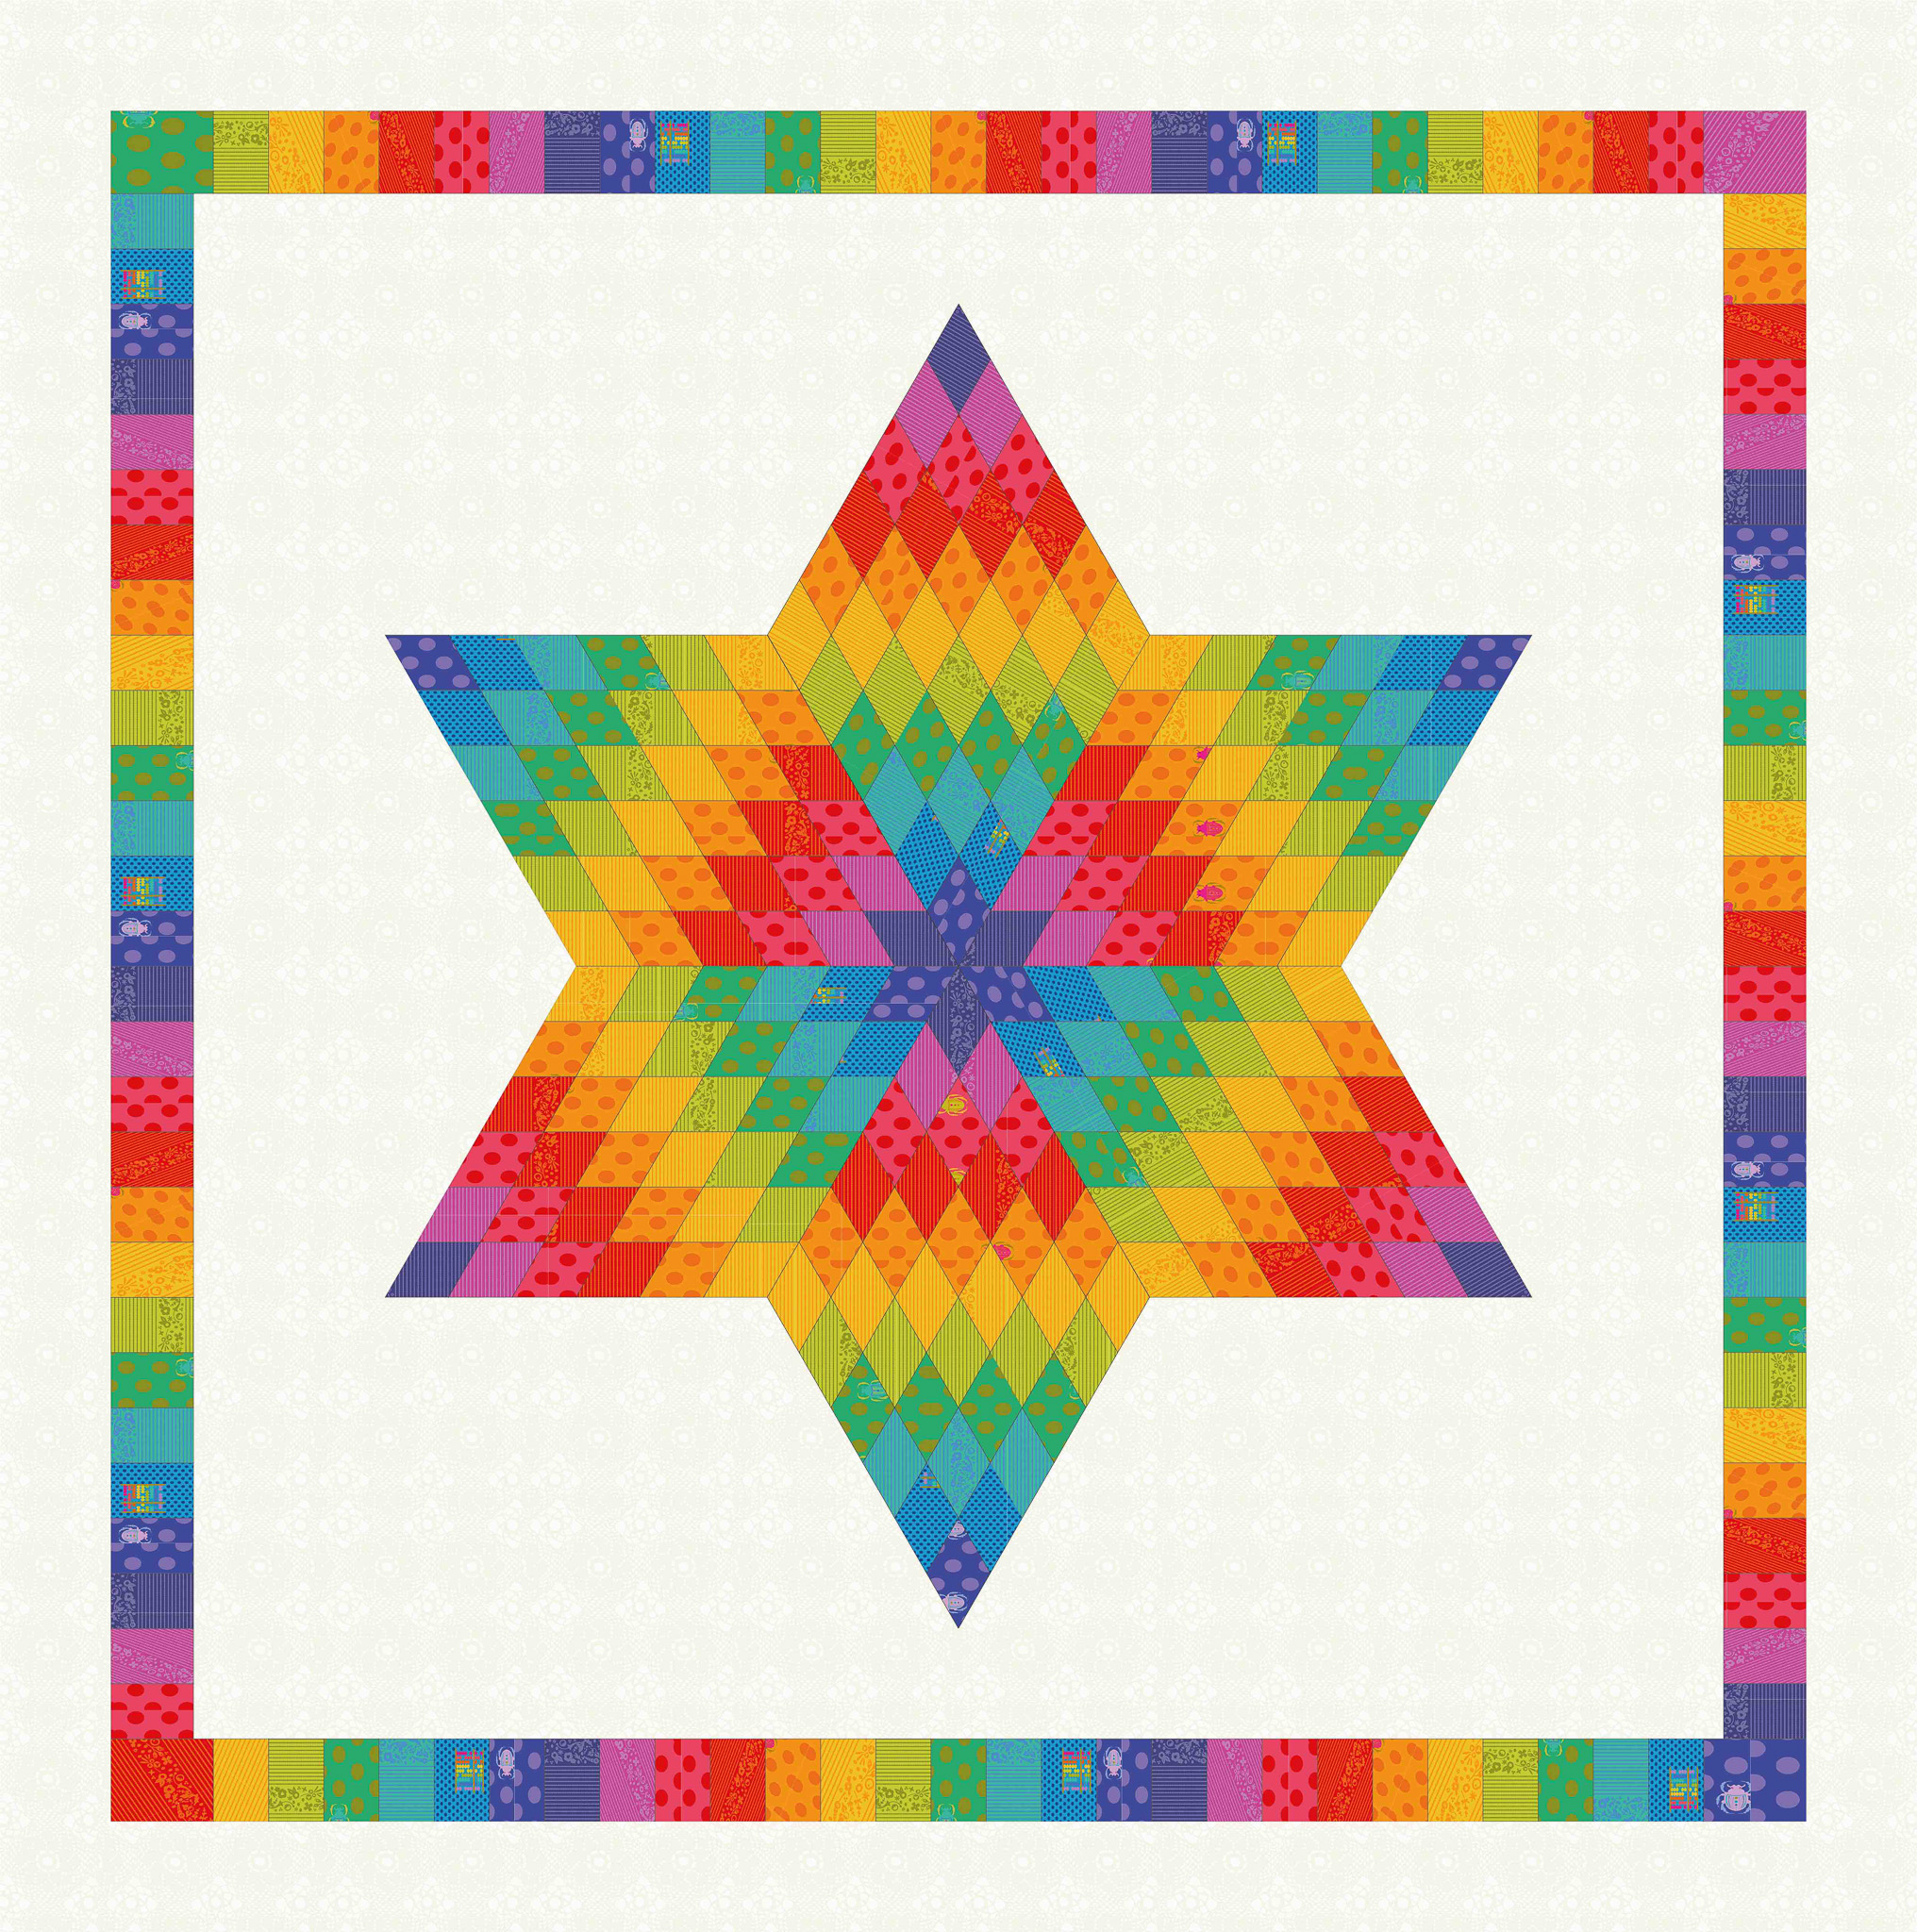
I did look at using a light background, which I think would work equally well.
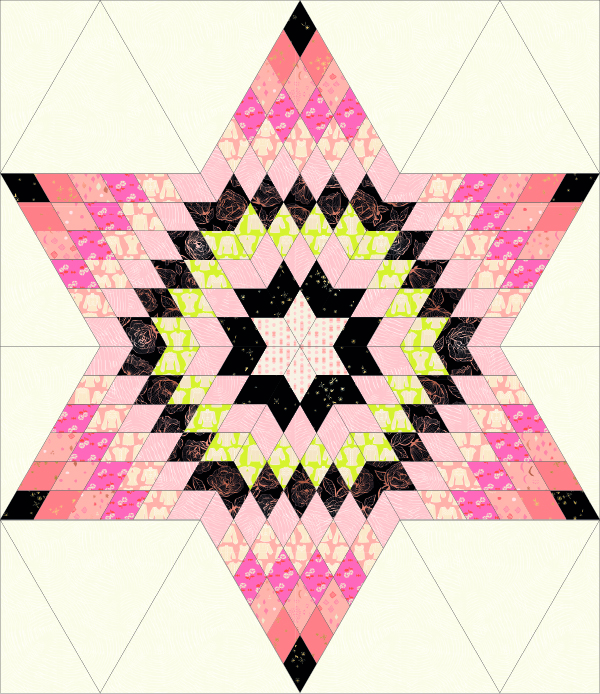
If you're not into rainbow colours, you could go for a completely different look - here's one IO mocked up in Ruby Star First Light fabrics - just the quilt centre here but I do love these colours!
The other option is to use a jelly roll, which will give you more of a random effect.
The pattern for this quilt will be released at the e...
The Wonders of Oamaru
At the end of last month Brenda and I travelled to Oamaru, on the South Island of New Zealand. I was teaching a class for the North Otago Patchers and Quilters for two full days, but we got some extra time to explore this lovely city on the day we arrived.
Oamaru is known as the Steampunk Capital of the world. The old town has been preserved and transformed into a gorgeous area with cobbled streets, and the old Whitestone buildings from the early days of European settlement, when Oamaru was a bustling port.
Beautiful buildings with quirky and interesting shops, including lots of craft shopping opportunities make this a great place to explore.

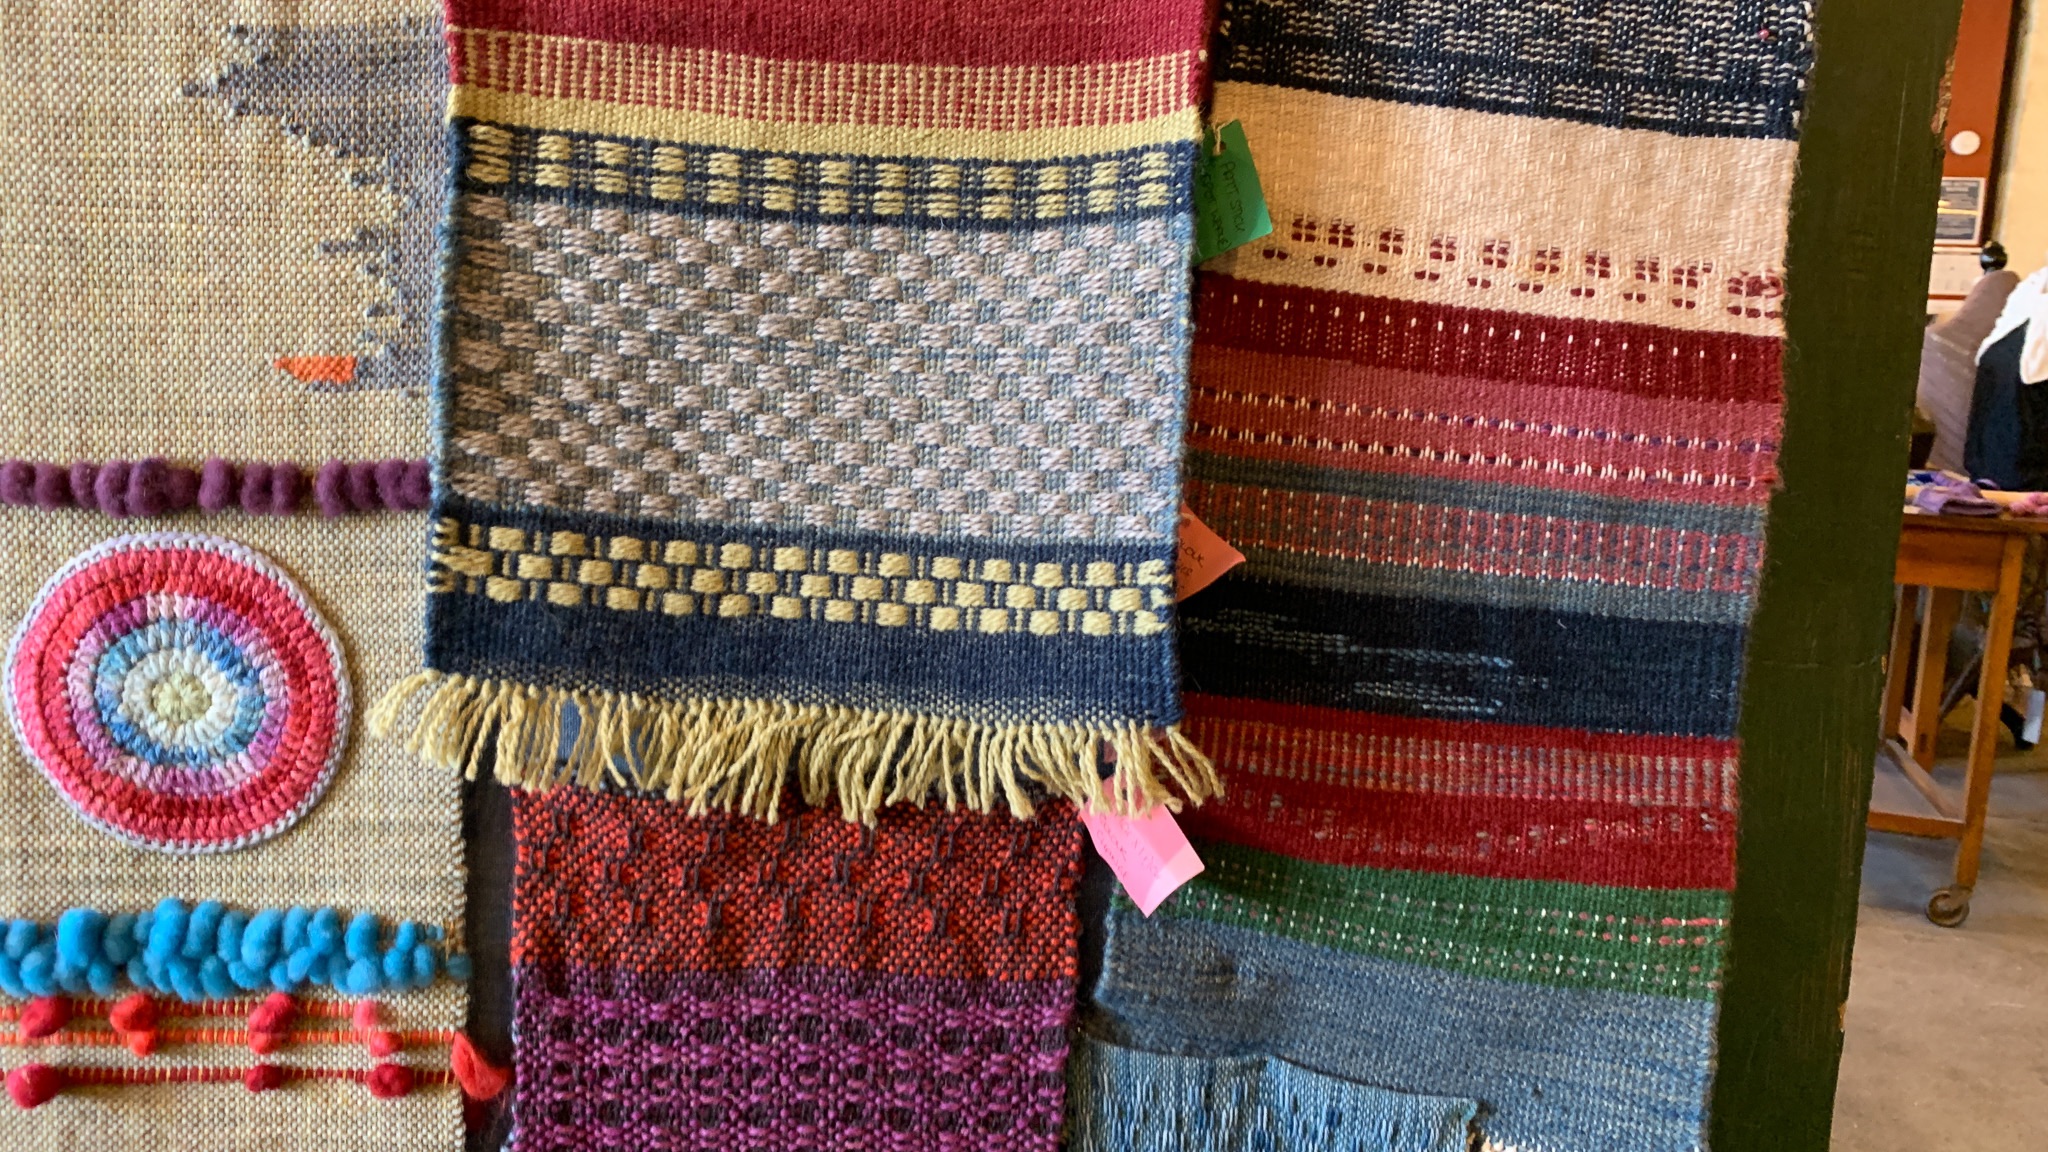
We ventured into the Textile Emporium - what a delightful place! Vintage sewing machines, looms and an amazing spinning wheel from the 1700's caught our attention, as did all the lovely samples.
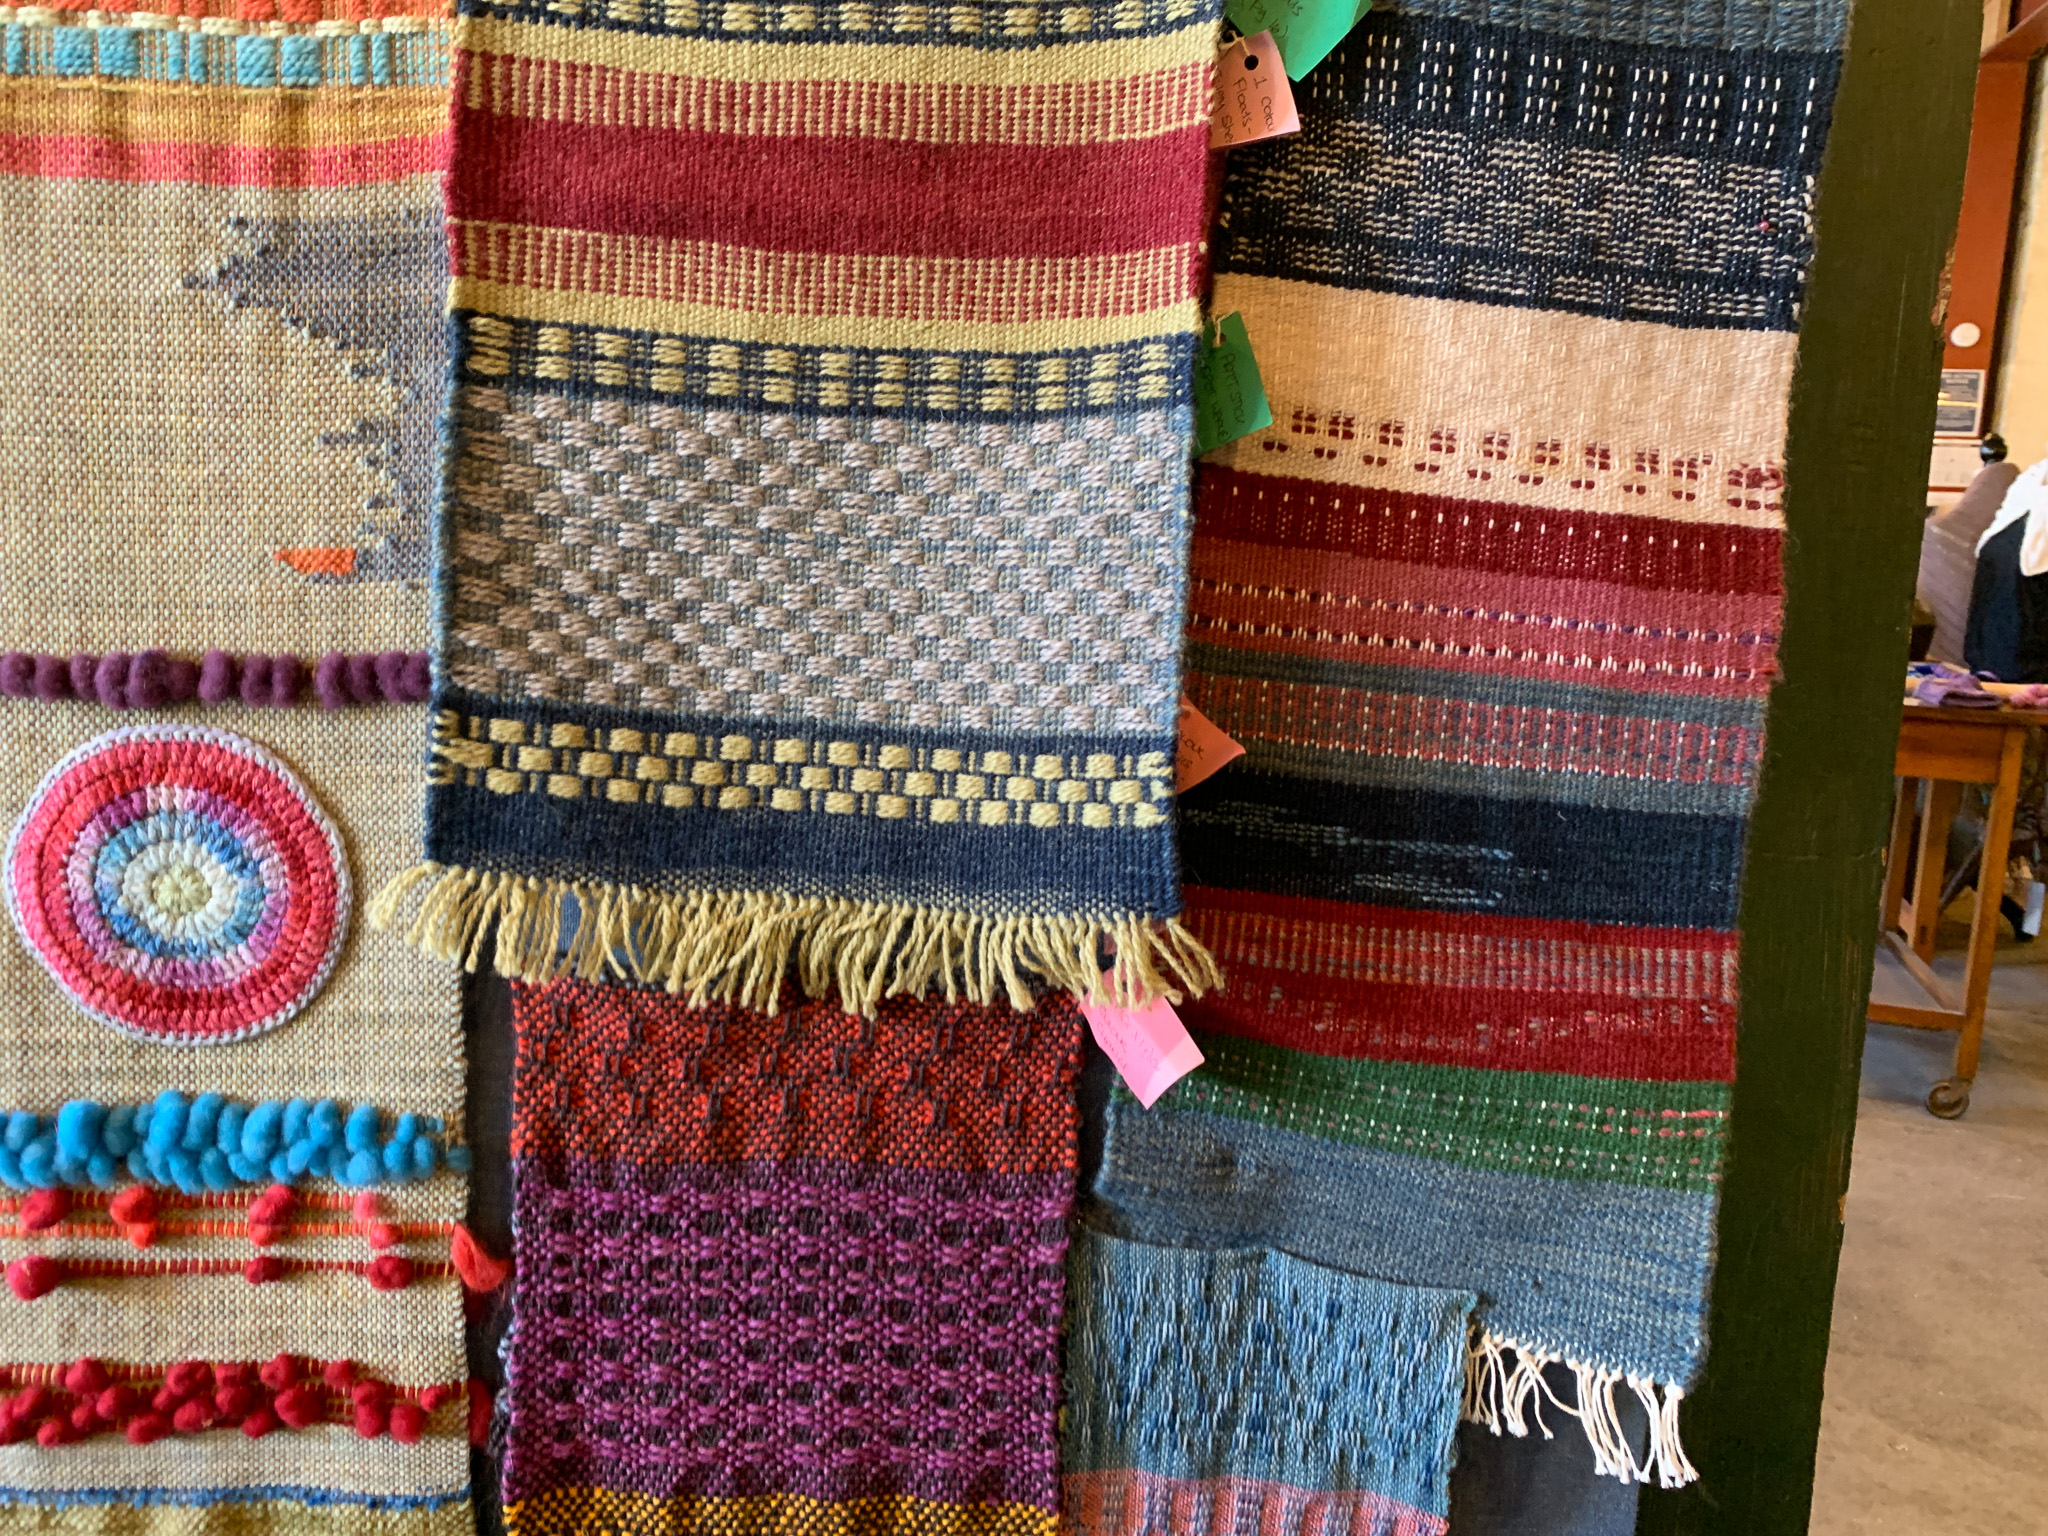
This weaving had been done by students at the Emporium.

There really is something for everyone in this shop - whether you love to create cr...
Travels with Dolly
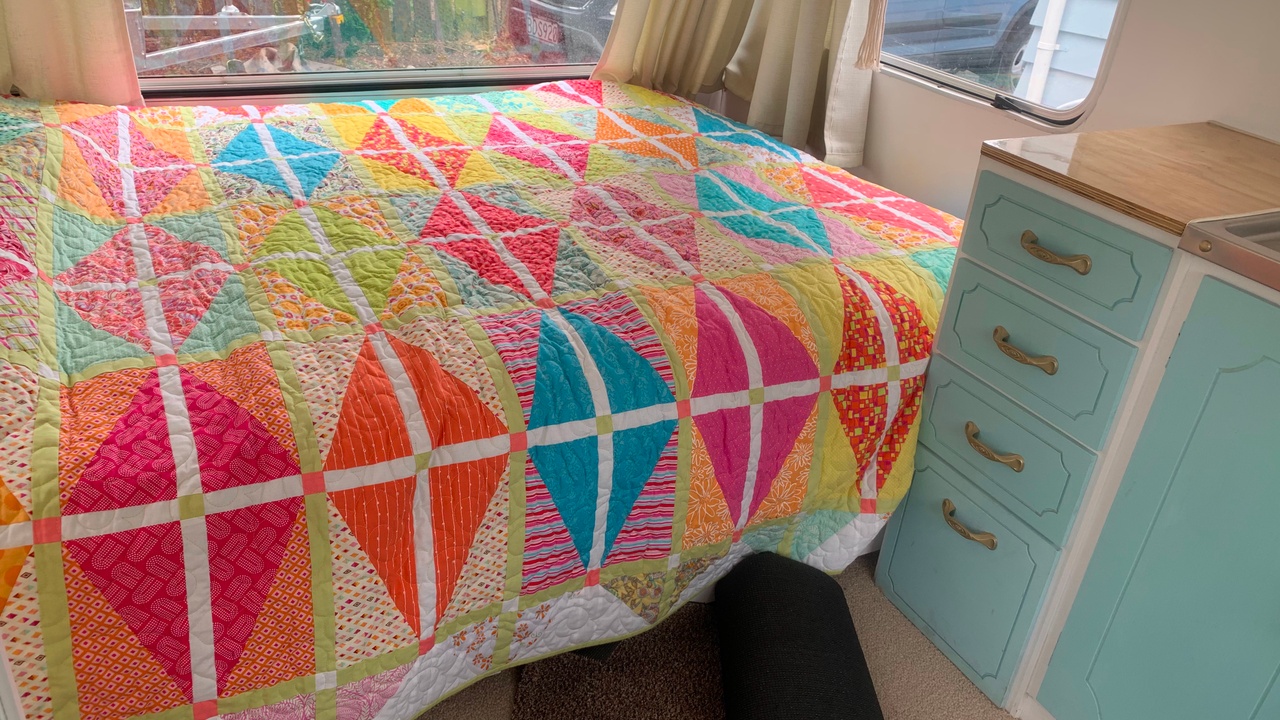
Here in New Zealand we are just getting to the last days of summer and heading into autumn. We've been making the most of the beautiful weather and scenery in our new to us caravan, who we have named 'Dolly'.
Dolly is a very simple little lightweight caravan with no power but going away in her has been so relaxing and lots of fun. We have lots of campsites close to us where we can just go and listen to the birds singing, take a walk in the bush and be laid back for a day or two.

To keep us warm in Dolly I chose my Garden Party quilt. This quilt was made from fabrics in my stash, using the Creative Grids Perfect Rectangle ruler. It was so much fun to make and it's a good size for keeping Carl's feet warm at night!

We visited a tiny little town in our region called Pongaroa, and of course we had to grab a delicious pie for lunch from the one shop that serves the entire farming area for miles around.

We love travelling in Dolly, but the one thing that was missing was my sewin...
Totally Triangle Quiltalong
Are you ready for an adventure?
The TotallyTriangleQuiltalong will begin on January 7th 2017
Over the next few weeks I will be posting information about what you will need!
Watch this space for details........
Charity Quilt Blog Hop
The quilting world is full of people with great ideas, and I love the way quilters work together to make them happen.
As you may know, I am working with Kim at Cotton Cuts to offer my Mystery Quilt designs in the USA. Kim is running two of these Mysteries this year, with the next one starting in August. Kim has such great ideas and she has decided to make one of the quilts up and auction it off for charity, raising funds for the sheltered workshop where all the cutting for the US quilts is done.
Each of the clues will be made by different bloggers, and Kim is going to finish the quilt.
This is the colourway that Kim has chosen, featuring Carolyn Friedlander's fabrics:
This colourway is called Aster, and Kim has given each of the colourways a team name - so the bloggers will become part of #teamaster .
One of the bloggers making clues is Yvonne @quiltingjetgirl. There is a lovely article on her blog today about her taking part in this charity quilt. Go to www.quiltingjetgirl.com...
Binding 101 - Part Five - the final step

Hi and welcome to Binding 101, the final step.
Don't you love it when you get to the end of a project and know that all the hard work you have put in is finally done, and you can move guilt-free onto the next one?
Once I have my binding sewn down by machine I look forward to spending the evening quietly contemplating the enjoyment of the project, and anticipating the next, while sewing down my binding.
Love it or hate it, hand sewing does make for a lovely finish, and hopefully with these tips you will find it enjoyable.
To start off, I press my binding back.
This is what the corners will look like
Fold the binding over to the back of the quilt.
Use a fine needle to sew down your binding, this makes it easier to achieve an invisible stitch.
I use a fine applique needle #12 (Clover or Bohin brands are what I have available). These are easy to thread with the Clover desktop needle threader.
I am using Aurifil #50 cotton ...
Binding 101 - Part Four - Easy mitred join (no rulers!)

Welcome to part four of my Binding 101 tutorial.
Joining the ends of my binding was always a bit of a hit and miss affair. I used to fold one end inside the other and hope for the best. This didn't look good as it produced a lumpy, straight join when all the others were mitred and nice and flat.
I tried using various binding gadgets but could never figure out from one quilt to the next what to do, and got frustrated when I cut too much off, or cut the wrong way round.
Then one day I decided the only thing to do was to try and figure it out for myself, and I eventually came up with this method which for me is more intuitive and I can now actually remember how to do it every time!

Give it a try next time you join your binding...
Start by leaving yourself PLENTY of room to work with. I start sewing my binding 10-12" from the beginning of the strip, and leave a good 12" gap at the end. The orange pins in this photo show where I started and sto...
Trendsetters 2020 Mystery Quilt!
Watch the Big Reveal of my Trendsetters 2020 Mystery Quilt!
You can buy the pattern here https://payhip.com/b/7Vrb